
Last updated August 25, 2026
Free visual inspection and a written scope of work before any mitigation begins - photos, moisture readings, and drying logs go in your claim file
The scope we write is the scope we bill. Anything new gets shown to you, in writing, before we touch it.
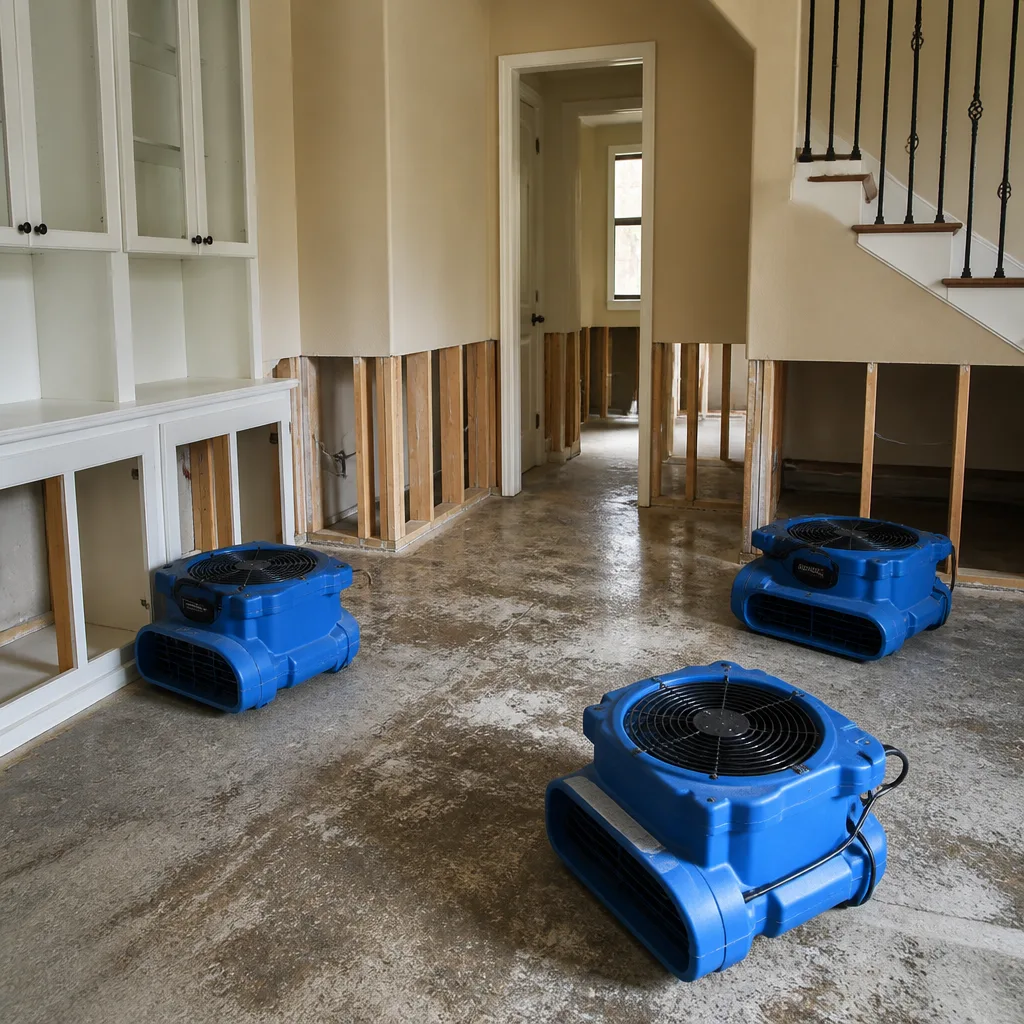

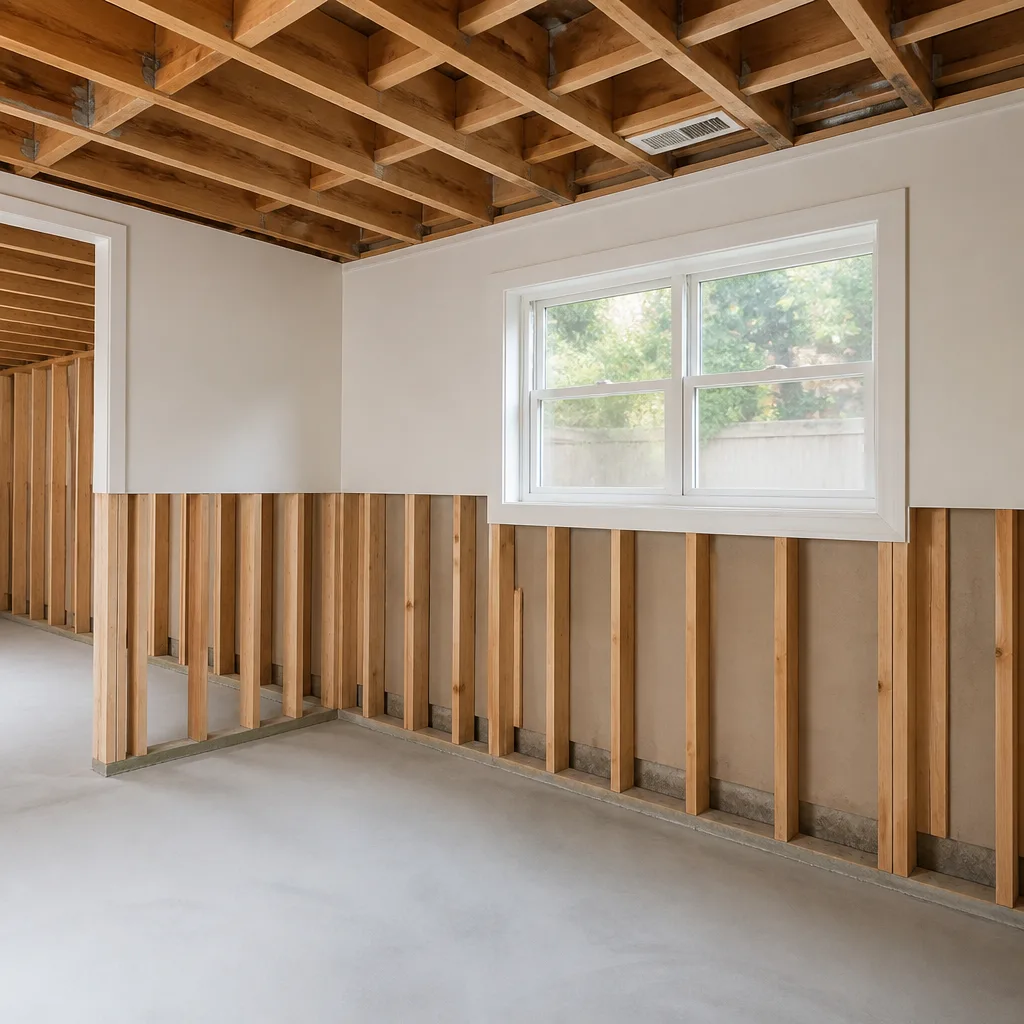

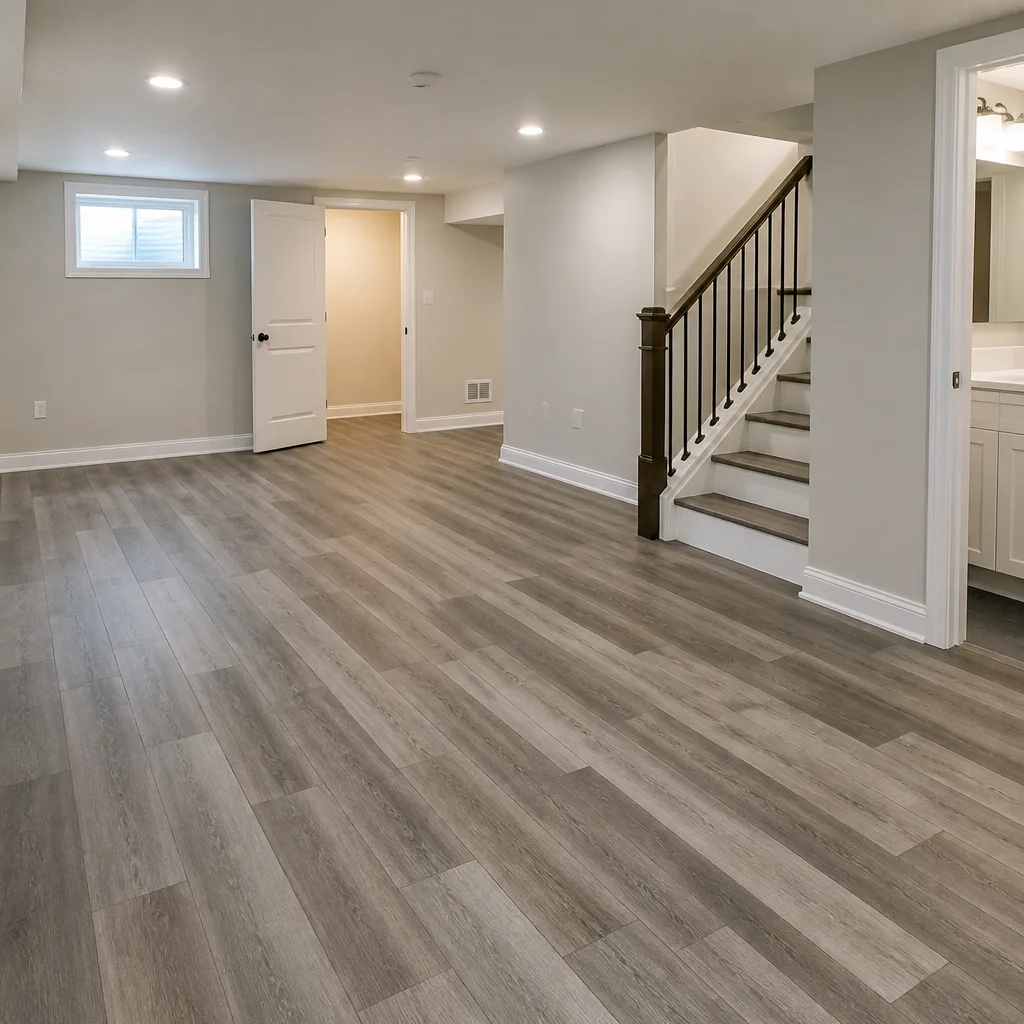

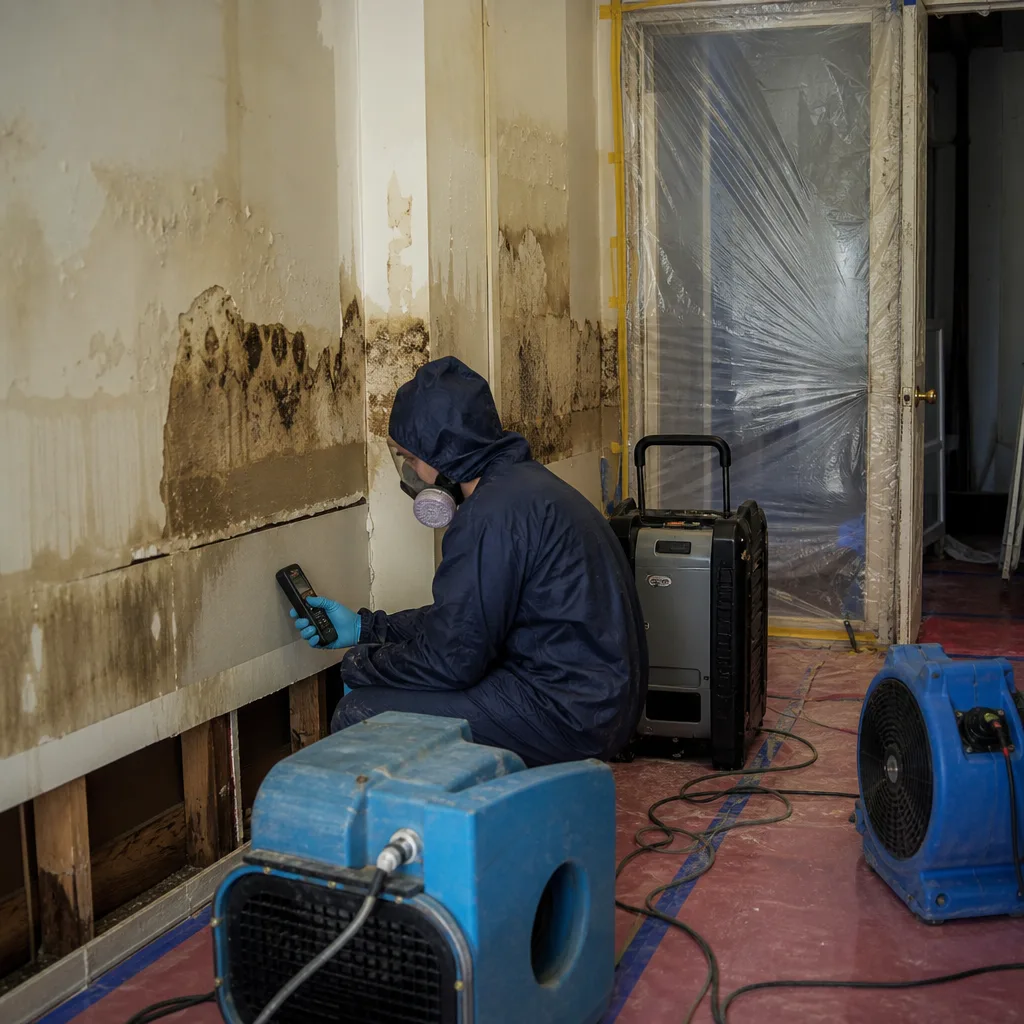 Before
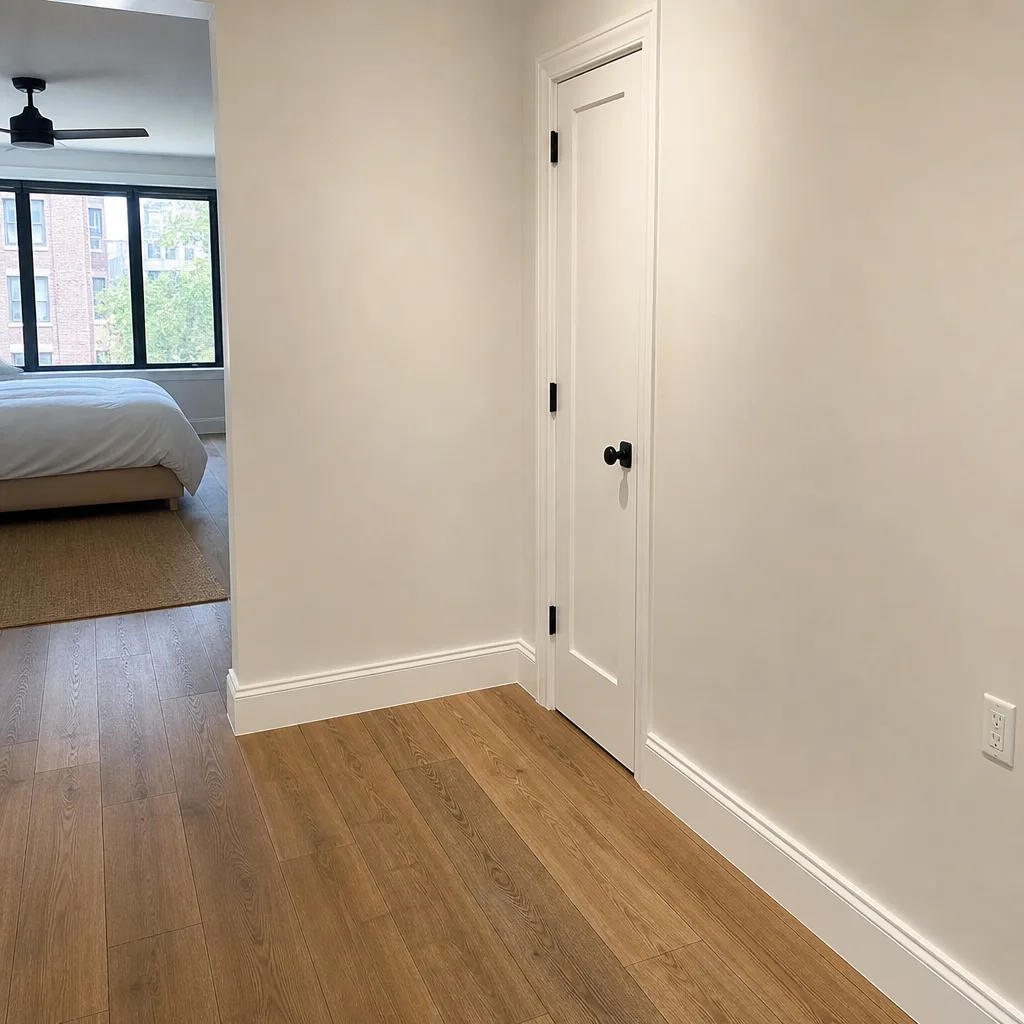 After
After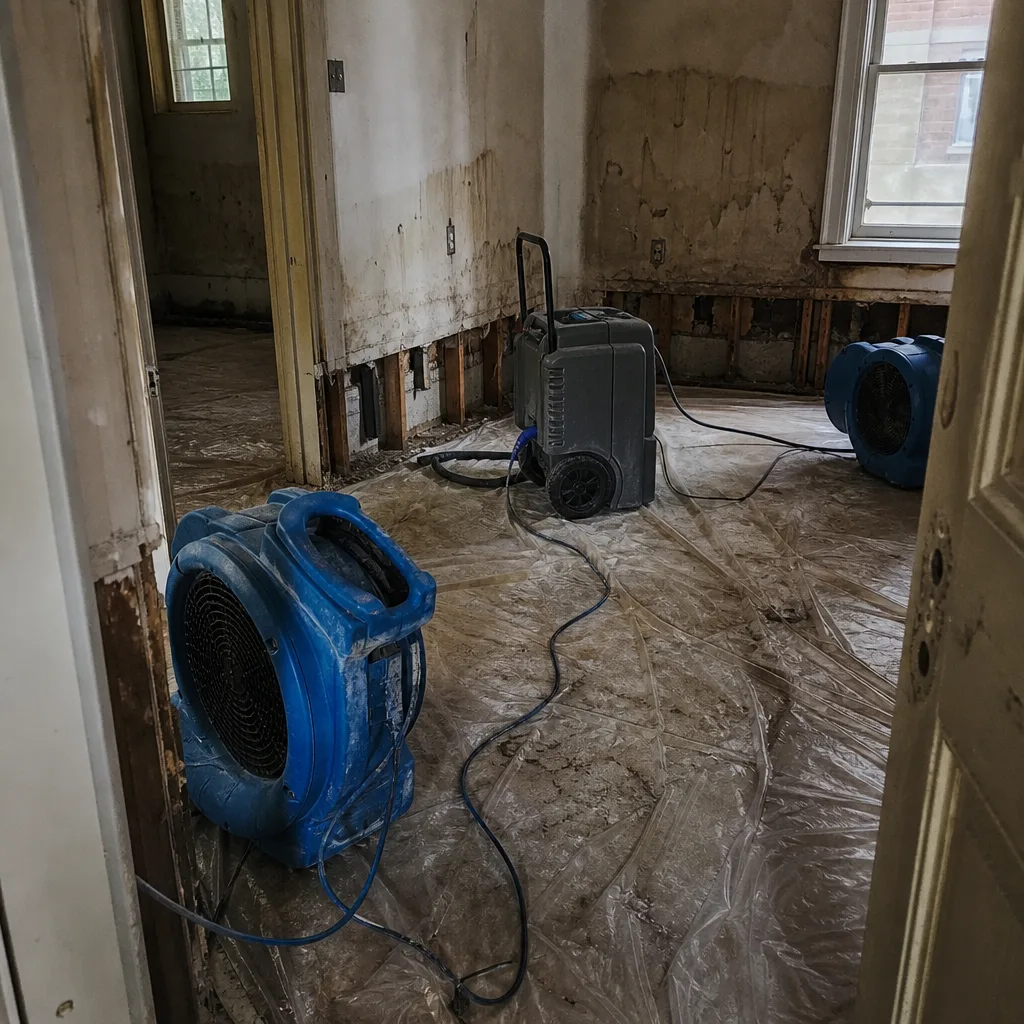 Before
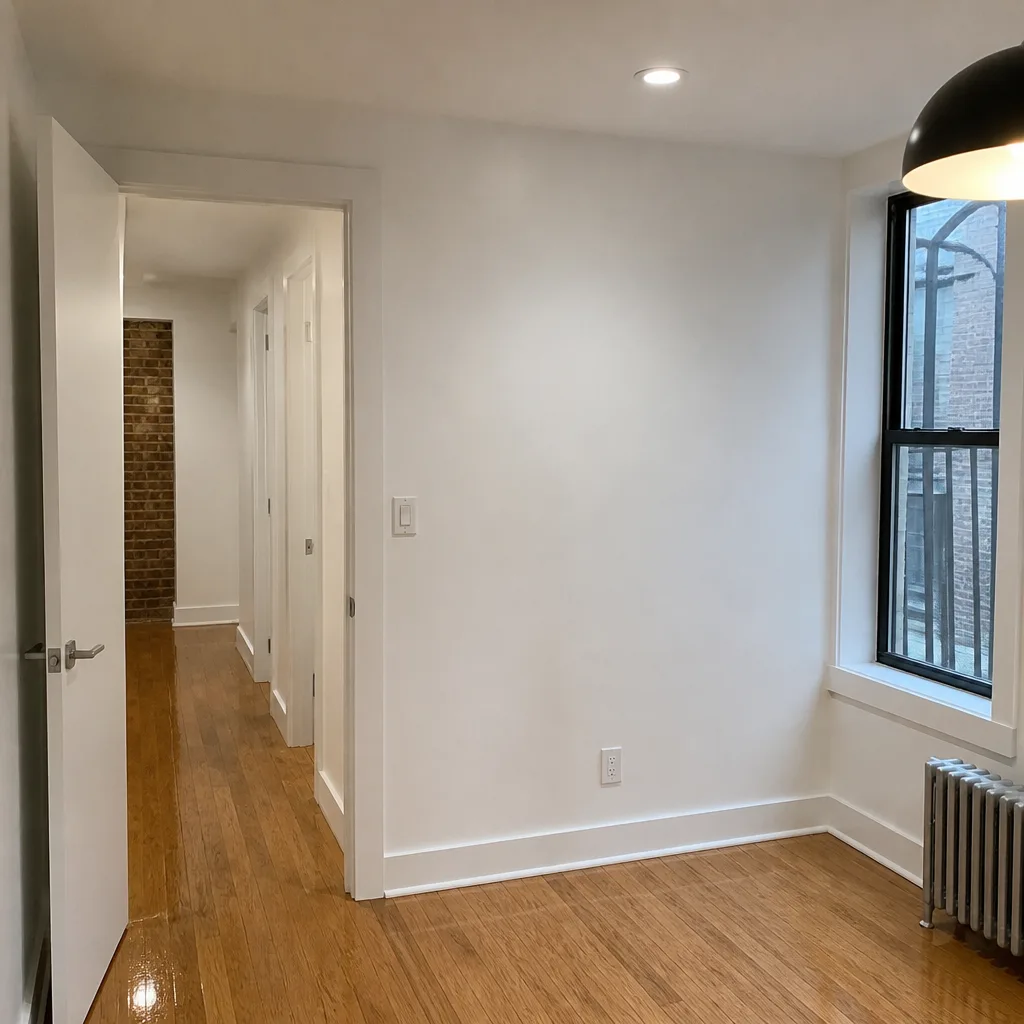 After
After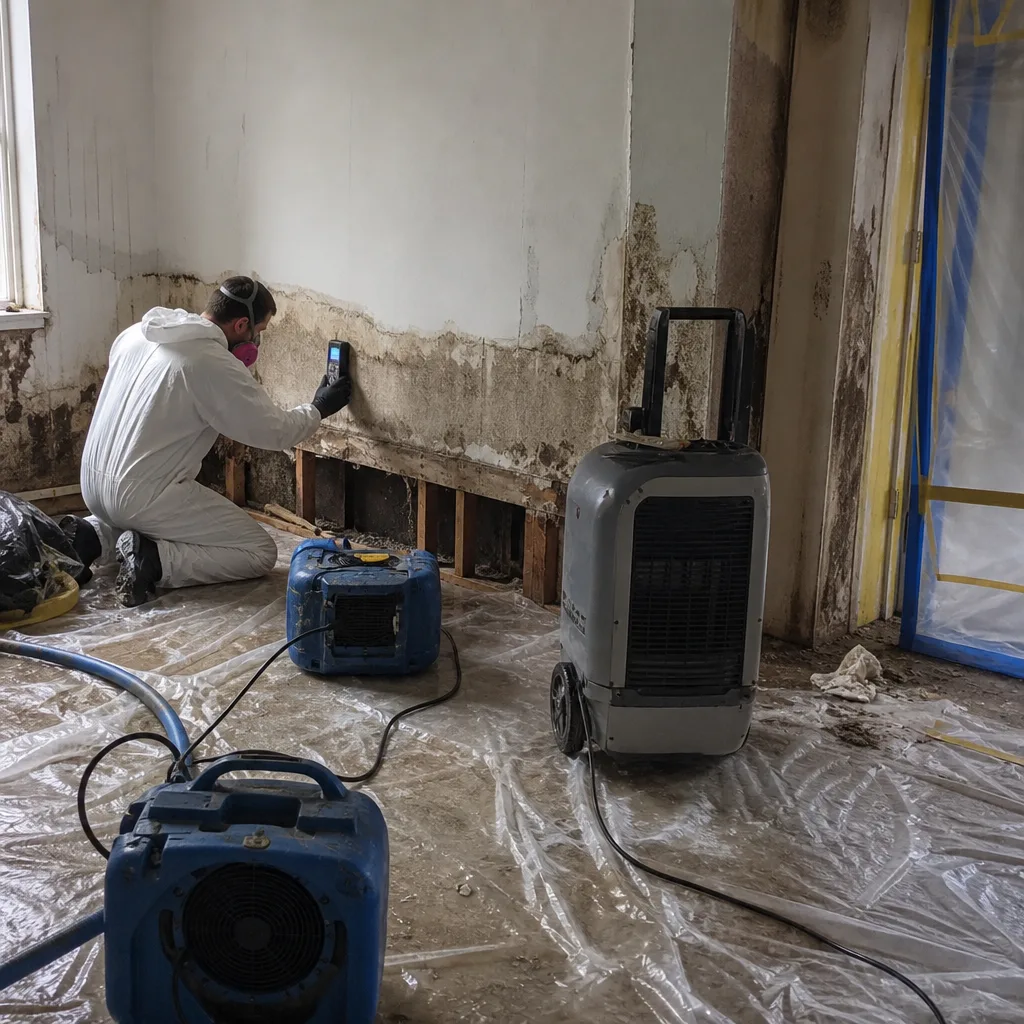 Before
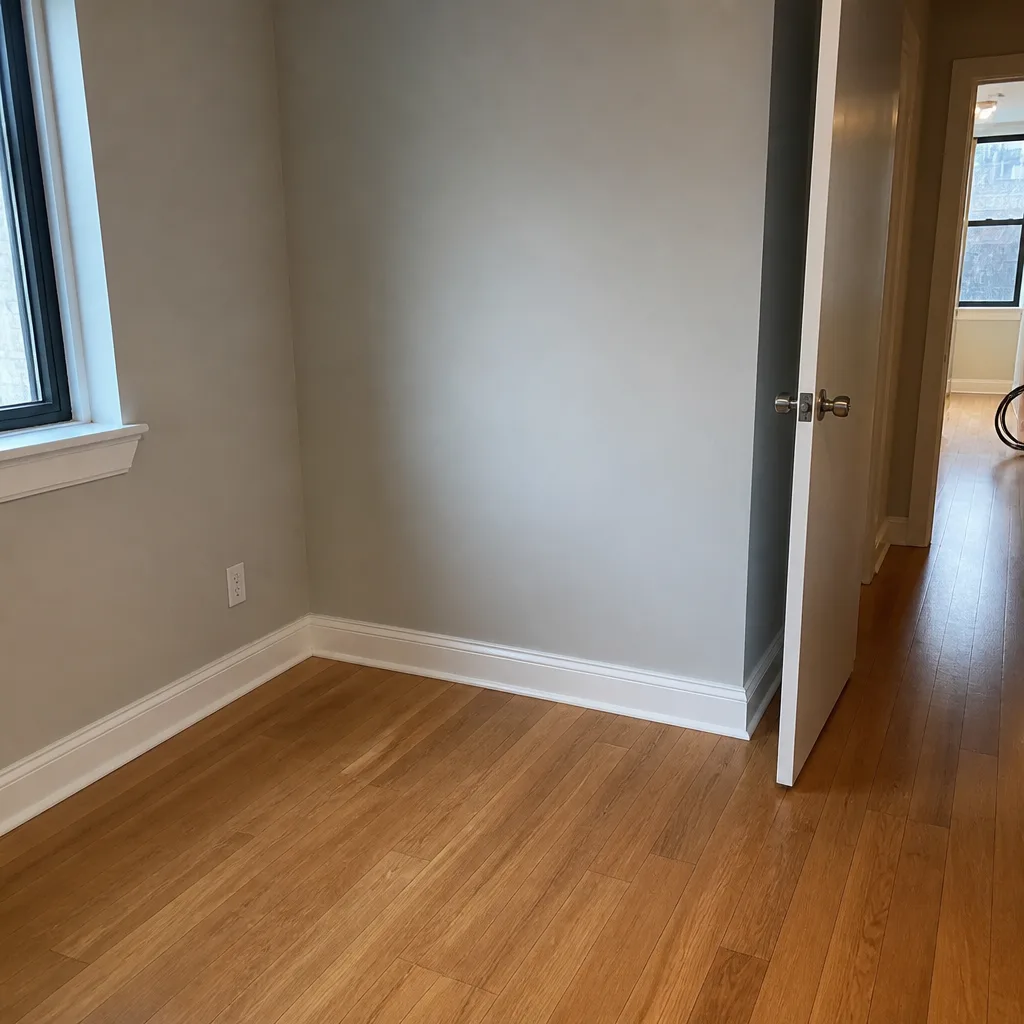 After
AfterWater Damage Restoration Maintenance Checklist for Upper West Side Homeowners
Water doesn’t announce itself in a prewar co-op the way it does in a suburban basement. It arrives as a soft brown bloom on the ceiling below the upstairs bathroom, a buckling oak floor near the radiator, a musty smell in the closet that shares a wall with the riser. In our 42 years of work across Manhattan, we’ve learned that Upper West Side buildings have their own water logic - steam heat, aging risers, bathrooms stacked like pancakes, and neighbors whose overflow becomes your emergency. This guide will walk you through a seasonal maintenance routine, the warning signs that precede a failure, and the order of operations that keeps a small leak from becoming a torn-out kitchen.
Quick Answer
A water damage maintenance checklist for Upper West Side homeowners means inspecting supply lines, appliance hoses, under-sink cabinets, radiator valves, roof drainage, and bathroom seals every season, and after every heavy rain or neighbor leak. Most water disasters in this neighborhood start small - a corroded shut-off valve, a cracked washer hose, a failed tub overflow gasket - and give you days or weeks of warning if you know where to look. The single highest-ROI habit is once-a-month visual checks of the hidden places: under sinks, behind the washing machine, around the toilet base, and along the ceiling line below any bathroom above you.
Table of Contents
- The Seasonal Maintenance Checklist for Upper West Side Homes
- Risers, Stacks, and Neighbor Water: What You Can and Can’t Control
- Steam Heat and Radiator Leaks: A Manhattan-Specific Risk
- Appliance Hoses and Supply Lines: The Most Common Failure Point
- Bathroom Seals, Caulk, and Grout: The Silent Drip
- Roof, Drainage, and Window-Well Water in a Prewar and Postwar Mix
- What to Do in the First 30 Minutes After You Spot Water
- The Line Between Maintenance and Restoration: Knowing When It’s Too Late for DIY
The Seasonal Maintenance Checklist for Upper West Side Homes
Manhattan seasons are not suggestions. Steam heat runs six months a year. Summer humidity sits in bathrooms that lack ventilation fans. Fall brings leaf load to roof drains and rear-yard traps. Spring thaws reveal every joint that froze and split in January. A maintenance rhythm that matches the calendar is the cheapest insurance a homeowner can buy, and it costs nothing but an hour every few months.
Here is the working checklist we recommend for this neighborhood, organized by season:
Fall (October – November)
- Inspect all appliance hoses. Washing machine supply lines should be replaced every five years, regardless of appearance. Stainless steel braided hoses fail at the crimp, not the rubber. Look for rust staining at the fittings.
- Exercise every shut-off valve. Toilets, sinks, washing machine. Close and open them slowly. A seized valve is a failure waiting for 2 a.m. If a valve is frozen, it needs replacement before it needs use.
- Check under-sink cabinets. Run your hand along the cabinet floor. Look for swelling, stains, or a faint musty smell. In Upper West Side prewar kitchens, the original cabinet bases hide slow drain leaks for months.
- Clear any private roof drainage or terrace drain you control. Many townhouse owners and some co-op shareholders are responsible for their own scuppers and leaders.
Winter (December – February)
- Check radiator valves. Steam radiators have supply valves that leak at the packing nut when the system cycles. Look for rust trails down the pipe. A slow radiator leak rots the flooring under the radiator and the subfloor below.
- Watch for condensation on windows and exterior walls. In a building with high interior heat and single-pane windows, winter condensation drips into window sills, behind baseboards, and down into the wall cavity.
- Locate your main water shut-off. In a co-op, it may be in the building basement. In a condo or townhouse, it may be under the kitchen sink or in a service closet. Make sure you and one other household member can reach it and operate it.
Spring (March – May)
- Inspect ceilings below bathrooms. Run your eyes along the ceiling line below every bathroom in your home. Look for a faint ring, a bubble in the paint, or a yellow discoloration. In stacked-bathroom buildings, leaks from the apartment above travel through the floor assembly before showing on your ceiling.
- Re-caulk tubs, sinks, and shower surrounds. Silicone caulk in a humid Manhattan bathroom lasts about five years. Gaps at the tub-to-floor junction or tile-to-tub rim let water into places you can’t see.
- Check toilet tanks. Remove the lid. Look for standing rust at the tank bolts and condensation on the exterior. A toilet that sweats in spring is leaking moisture into the floor around the base.
- Test your bathroom exhaust fan. If you have one, turn it on and hold a tissue to the grille. A weak pull means the fan is dirty or the duct is blocked. Poor ventilation in a small Upper West Side bathroom keeps humidity at levels that promote mold and wood rot.
Summer (June – August)
- Inspect under-sink plumbing for condensation. Cold water lines in hot summer air sweat. If the cabinet is closed and uninsulated, that condensation pools in the cabinet base. Pipe insulation is cheap.
- Look at window air conditioners. A window AC unit that drips condensate inside the wall rather than outside the building is a slow, steady water source running all summer. The drip pan should be pitched slightly outward.
- Run a visual check on your washing machine pan and drain. If your machine sits in a drain pan, check the pan. If it doesn’t, check the floor around it. In many Upper West Side apartment buildings, washing machines live in kitchen closets, and a slow drum leak hides under the machine until the floor below starts showing stains.
The pattern here is simple: look at the places water would pool if it leaked slowly, and check the connections most likely to fail with age. None of this requires special tools. A flashlight and a dry hand are enough for 90 percent of it.
Risers, Stacks, and Neighbor Water: What You Can and Can’t Control
Upper West Side buildings, prewar and postwar alike, send water up and waste down through shared risers and stacks. You don’t own those pipes. Your building does. But the water that leaks from a corroded riser or a cracked cast-iron stack lands in your wall, your ceiling, your floor. You will feel it first, and the repair will involve your apartment whether you caused it or not.
Here is what experience teaches about neighbor water in this neighborhood:
- Water runs downhill and shows up in the apartment of least resistance. The leak may start in 12B’s bathtub overflow. The stain appears on your 10B living room ceiling two floors below. The damaged cavity between floors is where the restoration work happens.
- Steam risers are the most common building-side leak in prewar buildings. The supply riser carries steam up through every apartment. At each floor, a radiator take-off taps that riser. The threads on old black iron pipe corrode from the inside out. A pinhole leak on a riser behind your medicine cabinet is a building repair, but the water extraction and drying in your wall cavity is your restoration.
- Waste stacks crack at the hub joints. Old cast iron lasts a long time. Its joints don’t. Oakum and lead were the original joining method, and when they fail, the stack leaks at the bell of the pipe. That leak drips into the wall cavity and shows up as a recurring water stain every time the unit above runs a bath.
- You are responsible for noticing and reporting. No building superintendent can see inside your walls. If you see a stain, report it that day. Document it with a phone photo. Note the date and shape. If the stain spreads, note that too. That record matters when the building’s carrier and your carrier discuss who pays.
Our crews open a lot of walls in this zip code. We’ve seen the difference between a homeowner who tracked a stain for three weeks and a homeowner who called the day it appeared. The first and second dry faster, cost less to restore, and create fewer arguments with the insurance carrier. The third and fourth floors below the leak need drying, because water follows joists and channels for a long way before it stops.
Steam Heat and Radiator Leaks: A Manhattan-Specific Risk
One-pipe steam heat is beautiful and brutal. The system runs at low pressure, cycles on and off all winter, and lives inside walls and floors that are 80 to 110 years old in many Upper West Side buildings. Every radiator valve, union, and horizontal run is a potential drip. And because the radiators sit in the finished living space, the leak lands directly on hardwood flooring, often in a corner where the baseboard hides the damage.
Here’s what to check on a working steam system:
- The air vent on every radiator. This small valve hisses air out as steam arrives. When it fails, it either spits water or clogs shut. A radiator that won’t heat is usually a bad vent. A radiator that spits rusty water onto the floor or wall is a bad vent plus a water level problem.
- The supply valve at the floor. This valve is either fully open or fully closed on a one-pipe system. It should never be half open, which traps condensate in the radiator. Look for corrosion at the packing nut and the stem.
- The horizontal run under the floor. If your radiator sits on an exterior wall, the supply pipe runs under the floor from the riser. A leak in that run is invisible until the floor below shows a stain. The signs are a faint hissing sound near the wall, or a floorboard that stays warm and damp near the radiator in winter.
- The pitch of the radiator. One-pipe radiators pitch slightly toward the supply valve so condensate drains back. If the radiator has been moved, shimmed, or leveled by a previous owner, condensate pools and the radiator knocks and eventually leaks at the base.
A radiator leak is not a DIY fix. Steam systems carry 215-degree heat and live steam. The repair belongs to a licensed plumber or the building super, depending on the location of the leak. The water damage that results is where a certified restoration crew does the extraction and drying. The two jobs are different, and they are ordered: stop the steam leak first, then dry the flooring and wall cavity.
One more Manhattan note: radiator covers hide a lot. If your building has originals or you built custom covers, remove them once each winter and look at the bare floor and wall behind the radiator. We’ve found floor rot behind radiator covers that had been hiding for a decade, discovered only when the floor finally began to sag.
Appliance Hoses and Supply Lines: The Most Common Failure Point
Ask any restoration company what causes the most non-weather water damage in Manhattan apartments, and the answer is the same everywhere: a braided stainless steel supply hose that failed at the crimp, or a rubber hose that ruptured at the neck. Washing machine hoses top the list. Dishwasher supply hoses are second. Ice maker lines are third. None of them give a warning before they fail. All of them fail while you are asleep or at work.
The maintenance rule is simple and uncomfortable: replace rubber washing machine hoses every three years and braided stainless lines every five years, whether they look fine or not. They don’t fail because they look old. They fail because the rubber inside degrades, and the braid hides it.
Here is the full appliance and supply line checklist we walk Upper West Side homeowners through:
- Washing machine hoses. Check the rubber washers at the threaded connections. Look for rust or mineral deposits at the crimp where the metal meets the hose. If you see any discoloration, replace the hose the same day.
- Washing machine pan. If your machine sits in a pan, check that the pan has a working drain and that the drain line isn’t clogged with lint. A pan without a drain is a bucket with a hole in the bottom.
- Dishwasher supply line and drain hose. The supply line under the sink is usually copper or braided steel. Check the connection at the shut-off valve. The drain hose runs from the dishwasher up to the sink drain or garbage disposal. A loose drain hose spits water under the cabinet every cycle.
- Ice maker and refrigerator water line. These often use a saddle valve tapped off a copper pipe. Saddle valves are notorious for slow leaks. Look for green corrosion on the valve and the pipe around it.
- Under-sink water filter systems. Many Upper West Side apartments have point-of-use filters installed under the kitchen sink. The plastic push-fit connectors on these systems crack with age and vibration. Check them monthly.
Every braided stainless supply hose has a date code printed on the hose. Not the packaging, the hose itself. When you install a new one, write the date on the hose with a paint pen or a piece of tape. Three years later, the hose tells you it’s time. No memory required.
Bathroom Seals, Caulk, and Grout: The Silent Drip
Roughly one in three bathroom water damage claims in this city start with a failed seal, not a burst pipe. The water escapes through a gap in the caulk, runs along a grout line, seeps under the toilet, or drips from the tub overflow. None of these events is dramatic. All of them do damage for months before anyone notices.
Here’s what fails, in order of frequency, based on our work in Upper West Side buildings:
- Toilet wax rings. Every toilet sits on a wax ring that seals the drain to the floor flange. Over time, the wax compresses, dries, or shifts. Water seeps under the toilet base with every flush. The signs are a faint sewer smell in the bathroom, or a soft area of flooring around the toilet base. If the toilet rocks even slightly, the ring is compromised.
- Tub overflow gaskets. The overflow plate on the front of the tub hides a foam or rubber gasket behind it. That gasket deteriorates. When the tub is overfilled, water runs down the back side of the overflow pipe into the wall cavity behind the tub, unseen.
- Shower pan and tile grout. Grout is not waterproof. It never was. The waterproof membrane is behind the tile. When grout cracks and the membrane is older or missing, water channels into the wall and floor assembly. Re-grouting is maintenance. Replacing a failed membrane is restoration.
- Sink and tub rim caulk. The caulk joint where the tub meets the tile, and where the sink meets the vanity, is the first defense against water running behind the fixture. This caulk should be replaced every five years, and checked every season for cracks and shrinkage.
- Shower doors and curtain rails. A shower door that doesn’t seal drips water onto the bathroom floor every morning. The damage may start as cupping floorboards outside the shower. Metal curtain rails that have pulled loose let water run down the wall behind the curtain.
The best bathroom maintenance is a two-minute visual check every week. Run the shower and watch the water’s behavior. Flush the toilet and look at the floor around the base. Fill the tub and watch the floor line. Water always tells you where it’s going. You just have to be looking when it does.
Roof, Drainage, and Window-Well Water in a Prewar and Postwar Mix
Upper West Side buildings range from six-story prewar walk-ups to thirty-story postwar towers to four-story brownstones. The drainage concerns vary. What they share is this: when the water cannot leave the building, it enters the building. Every day.
Prewar walk-ups and brownstones often have flat roofs with internal drains or rear scuppers. Leaves, pigeon debris, and winter snow load clog the drains. Water ponds on the roof, finds a crack in the membrane, and travels down through the building. The leak may show up as a ceiling stain two floors below the actual roof breach.
Postwar high-rises often have balcony drains and terrace scuppers. A clogged balcony drain turns the balcony into a shallow pool. The water runs under the sliding door track and into the living room. This is one of the most common high-floor water damage calls we answer in the Upper West Side’s Riverside Drive and Central Park West corridors.
Ground-floor and garden-level apartments face a different water logic. Rear yards, light wells, and basement-level window wells collect storm water when the building’s drain system can’t keep up. In a cloudburst, city sewers back up in some low-lying blocks. Water enters through drain pipes, floor waste lines, and window wells before any warning system can trigger.
Maintenance here is largely a reporting function, not a repair function. You cannot fix a roof drain four floors above you. But you can report a clogged drain, a ponding roof section, or a blocked scupper the day you see it. You can keep your own balcony drain clear. You can check that your sliding door track drains are open. And you can keep your landlord, managing agent, or co-op board aware of any drainage issue that affects your apartment.
What to Do in the First 30 Minutes After You Spot Water
This is the moment that determines whether a $400 drying job or a $14,000 reconstruction comes next. The instructions are simple because there’s no time for complexity.
- Stop the source. Shut the local valve if you can find it. If not, shut the main. In a high-rise, call the super while you look. Water keeps flowing while you think.
- Cut the electricity to the affected area. If water is near outlets, appliances, or light fixtures, trip the breaker at the panel for that circuit. Do not stand in water and touch the panel. Stand on dry floor and use a dry hand.
- Move what’s dry to somewhere dry. Furniture, rugs, books, electronics. Every minute the water wicks into porous materials, the damage multiplies.
- Document the scene. Phone photos, wide and close. They are your record for the insurance claim and for the restoration estimate.
- Call for extraction. A wet vacuum from a hardware store will not pull water from wall cavities or under hardwood. Professional extraction equipment pulls gallons at a rate and depth that consumer equipment cannot match. The call should go out the same hour the water is discovered.
One more thing from years of showing up after water events on Broadway, Amsterdam, Columbus, and Riverside Drive: if the water came from the apartment above, document it before you touch anything, and tell your neighbor what happened. If the water came from your apartment, tell the neighbor below that same day. The fastest way to turn a leak into a dispute is to say nothing.
The Line Between Maintenance and Restoration: Knowing When It’s Too Late for DIY
Maintenance is checking hoses, caulking joints, replacing wax rings, and doing seasonal inspections. Restoration is the work that happens after water has saturated building materials. They are not the same discipline, and they require different tools, training, and judgment.
Here is the line: if water has touched drywall, insulation, hardwood, subfloor, or wall cavities, the job is no longer maintenance. These materials hold moisture deep inside their structure. They look dry on the surface long before they are dry at depth. A moisture meter reading is the only reliable way to know, and professional-grade meters cost as much as a used car.
Our technicians are trained to IICRC, RIA, and IFA standards, and we run Dri-Eaz and Phoenix equipment with daily moisture readings until the dry standard is met. That reading is logged and handed to you and to your carrier. It is the record that proves the drying was done right.
The line also matters for insurance. Most policies cover sudden and accidental water damage. They do not cover long-term neglect. If you fixed the caulk and changed the hoses and the leak still happened, you have a strong claim. If the water damage is the result of 18 months of a dripping shower pan you never addressed, the carrier may push back. The maintenance checklist in this guide is not just about preventing damage. It is about having a record that you did your part.
At Floodline Restoration Co. home, we work with owners who call us the day they see a stain and with owners who call us two weeks later. We don’t lecture. We just start at the floodline, the honest mark the water left on the wall, and we handle extraction, drying, and rebuild with the same certified crew, from first visit to finished reconstruction, with daily moisture readings logged and a written scope agreed before work begins.
Common Mistakes to Avoid
- Waiting to inspect after a neighbor reports a leak. Water travels unpredictably between floor assemblies in Upper West Side buildings. Your apartment may be dry while the wall cavity behind it is wet. Inspect the day you hear about it, not the day you see a stain.
- Using a household fan to dry a saturated floor. A box fan moves air across the surface. It does not pull moisture from inside drywall, subfloor, or wall cavities. The materials stay wet inside, and mold starts within 48 to 72 hours. Professional air movers and dehumidifiers are a different category of equipment.
- Ignoring a faint musty smell because there’s no visible stain. Smell is the earliest detection system for a hidden leak. A musty closet or bathroom on the Upper West Side is often the first sign of a slow leak in a wall cavity or under a floor. Investigate the smell before it becomes a stain.
- Replacing a wax ring without checking the flange and subfloor. If the toilet rocked long enough to break the wax seal, the flange may be cracked and the subfloor around it may be soft. A new wax ring on a broken flange leaks again in weeks.
- Caulking over mold or crumbling grout. Caulk seals the surface. It doesn’t kill mold beneath it and it doesn’t replace degraded grout. The water problem continues behind the new caulk line, hidden from view.
- Filing an insurance claim without photo documentation. Carriers ask for evidence. The photos you took in the first 30 minutes, before cleanup, are the strongest evidence you have. Take them before moving anything.
- Assuming the building is responsible for all riser leaks. The riser itself may be a building repair. The water damage in your apartment is a separate matter, and the restoration is often yours to manage. Document both and notify both the super and your insurance carrier.
When to Call a Professional
Call a professional when the water has touched drywall, insulation, hardwood, subfloor, or wall cavities. Call when you smell must but can’t find the source. Call when a stain returns after you’ve repainted. Call when the water came from a drain line, a sewage line, or an appliance that has been leaking for more than a few hours. Call when you are not certain the area is dry, and the only way to know is with professional moisture meters and humidity readings. Floodline Restoration Co. offers free estimates in Upper West Side, and a live person answers the phone at (845) 305-5737, any hour, any day. We’ll be there when we say.
Frequently Asked Questions
Check hidden water spots once a month, and check exposed plumbing connections once every season. The monthly check covers under-sink cabinets, around toilet bases, behind the washing machine, and along ceiling lines below bathrooms. The seasonal check adds radiator valves, appliance hoses, and caulk joints.
Shut the local water supply to that area if you can identify it, move furniture and rugs away from the wet area, photograph everything, and call the building super if the water may be coming from the unit above. Then call a restoration company for extraction and moisture assessment the same day. Do not wait for the stain to stop spreading.
In most cases, your own insurance covers the water damage to your apartment, regardless of the source. The carrier may subrogate against the neighbor’s carrier or the building, but that is their process, not yours to manage. Photograph everything and file a claim as soon as you know the damage extends beyond surface water. If Floodline handles your restoration, we bill the carrier directly for covered work.
Most residential water damage in Upper West Side apartments dries within two to four days with professional-grade Dri-Eaz and Phoenix air movers and dehumidifiers running continuously, with daily moisture readings logged until the dry standard is met. Deep wall cavities, hardwood flooring, and multi-floor leaks can extend that window to five to seven days.
A small spill on tile you can dry with household tools. A leak that has soaked into drywall, hardwood, or subfloor needs professional equipment and moisture meters. The surface will feel dry long before the materials are dry at depth, and mold begins in as little as 48 hours in the warm, humid environment inside a wall cavity. If the water has penetrated building material, call a professional.
Maintenance-level work like replacing caulk, checking hoses, and replacing a wax ring is homeowner-appropriate if you know the fixtures and the shut-offs. But when water has entered building cavities or saturated flooring, the work requires certified technicians. Our crews are trained to IICRC, RIA, and IFA standards, and they log daily moisture readings that document the job for you and your carrier. Call (845) 305-5737 and we’ll tell you honestly which category your situation falls into.
The Bottom Line
Water damage in the Upper West Side is a when, not an if. The buildings are old, the pipes are shared, and the steam heat runs through floors and walls. But most disasters start small: a hose that gave notice, a valve that looked corroded for a year, a stain that was ignored for a month. The checklist in this guide is simple to follow and costs less than a dinner out. The alternative is a torn-out ceiling, a gutted bathroom, and weeks of reconstruction. Check the hidden places every month. Replace hoses on a schedule. Know where your shut-offs are. And when water comes, call us at (845) 305-5737. We’ll start at the floodline and stand behind the work in writing.
Written by Curt Bowman, Owner at Floodline Restoration Co., serving Upper West Side since 2010.